
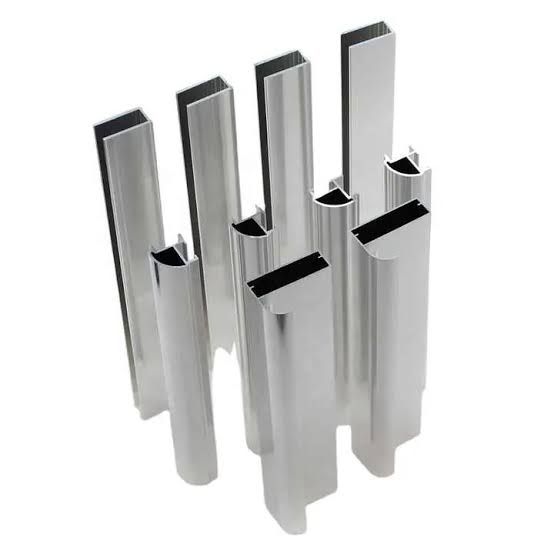
Deburring is often placed at the end of a routing sheet because it looks like a finishing touch. During an aluminum profile that will be pushed into a bracket, guided past a seal, or handled repeatedly during installation, that view is too small. In this review, the edge left by cutting, drilling, notching, or machining can change how the next part enters the assembly. In practice, it can also make a supposedly simple inspection harder: a supervisor may see a clean-looking part while an installer still feels a catch at the one edge that matters.
For release, the more useful question is not “has this profile been deburred?” It is “which edges must be ready for this assembly, and how will the team know?” That turns deburring before assembly into a release decision. For the buyer, it connects a feature on the drawing with the mating part, the handling route, and the inspection point instead of treating it as a generic request for smoother edges.
Aluminum extrusions commonly go through downstream fabrication, which can include cutting, punching, machining, bending, or welding. Each added operation can create a new edge condition, so an assembly-focused review needs to follow the actual route rather than assume that the extrusion arrives ready for every use. One supplier discussion is more productive when the buyer can describe the functional edge, the neighboring surface, and the evidence expected at handoff.
Make the Assembly Event the Starting Point
Begin with the moment the profile meets another component. Is an operator sliding it into a rail, locating it against a plate, tightening hardware near a cut end, or carrying it by an exposed flange? Those are different assembly events. Another burr that is irrelevant on a hidden outer edge may be consequential beside a seal groove or at a finger-contact point. Naming the event keeps the conversation from becoming an abstract debate about surface appearance.
Assembly supervisors can map the event in a short note: identify the part entering or touching the profile, mark the approach direction, and circle the first edge it encounters. Then identify whether the condition needs to prevent snagging, protect a mating surface, support insertion, or simply remove an unsafe handling point. This is not a substitute for the drawing. During review, it is a practical interpretation aid that makes the drawing easier to use during routing and inspection.
Distinguish a Called-Out Edge Break from a General Cleanup
An “edge break” note can mean different things to different readers unless the drawing establishes its scope. One reader may apply it to every newly machined edge; another may focus only on a labeled corner. A general cleanup instruction is likewise not enough when only one contact edge determines whether the product can be assembled without damage. During planning, the release package should therefore separate the controlled edges from edges that merely receive normal handling care.
Use the feature geometry to make that distinction visible. Record whether the critical edge is at a profile end, around a drilled opening, beside a notch, or along a machined face. Add the relevant drawing view or a simple marked-up image. If a component must pass a particular corner during assembly, describe that direction in words. This approach avoids inventing a universal tolerance while still giving manufacturing and quality teams a common target.
Trace New Edges Through the Operation Route
Deburring before assembly is not necessarily one operation. A cut may create an initial edge; drilling can introduce another around a hole; tapping, milling, or a later notch can change the condition again. Packaging and handling can also affect an edge that was acceptable earlier in the route. Reviewing the sequence helps the supervisor place the acceptance check after the operation that actually creates the risk.
For example, a profile intended to seat against a bracket may need its cut end reviewed after cutting, while a nearby access opening deserves attention after the machining operation that creates it. At handoff, the point is not to prescribe one universal sequence. At release, it is to prevent a check from being performed so early that a later step makes it meaningless. Lecreator can discuss CNC milling, drilling and tapping, cutting, notching, punching, finishing, and custom fixturing as part of its service context; the buyer still needs to identify which of those operations affects the assembly edge on this part.
Build an Edge-Readiness Ladder Before Release
Before ordering, the Edge-Readiness Ladder is a compact decision aid for a production meeting. It moves from function to evidence: first identify the assembly interaction, then locate the edge, connect it to the last operation that can alter it, and finally state how the team will check it. ladder is intentionally narrower than a full control plan. Its value is that it gives purchasing, engineering, production, and quality a shared question before an order is released.
Edge-Readiness Ladder
| Rung | Assembly question | Release record |
| 1. Interaction | What touches, passes, or is handled at this location? | Name the mating part or handling event. |
| 2. Edge location | Which end, opening, notch, or machined corner matters? | Mark the drawing view or annotated image. |
| 3. Route owner | Which last process can change that edge? | Link the check to the relevant operation. |
| 4. Acceptance | What observation confirms assembly readiness? | State the inspection method and responsible role. |
| 5. Escalation | What finding sends the package back for review? | List the drawing or assembly change trigger. |
Give the Supplier a Usable Handoff Package
A handoff works best when it includes the current drawing revision, the highlighted critical edges, the assembly purpose, and the proposed inspection observation. It should also say whether a surface is cosmetic, functional, or both. That prevents a shop from having to infer whether an edge next to a contact face is as important as an inaccessible outer corner.
When teams are assessing custom profile fabrication, they can use this package to frame the question around the profile’s required fabrication and assembly outcome rather than asking for an undefined degree of deburring. Lecreator is most useful in this conversation when it receives the profile use case, feature locations, and review expectation together. The article’s link belongs in that practical sourcing decision, not in a detached promotional sentence.
Use a First-Article Assembly Check, Not a Visual Shortcut
A first-piece check should imitate the meaningful part of the assembly event where feasible. If the concern is entry into a guide, use the relevant mating condition or a representative gauge; if the concern is a fastener area, review the access and contact path. A broad “looks smooth” statement is weak because it does not connect the observation to the function defined at the start of the ladder.
The check should also protect against a common communication failure: one team reports that deburring was completed, while another assumes that all exposed edges have identical requirements. Record what was checked, where it was checked, and what result would require a drawing or routing review. Lecreator can then carry the decision forward on repeat work as an explicit part of the job information rather than relying on memory.
Limitation and Trade-Off: Deburring Cannot Repair an Undefined Design
There is a limit to what deburring before assembly can solve. It cannot compensate for a drawing that does not define which edge matters, what the assembly interaction is, or whether an edge break applies to a specific feature. Asking a fabricator to “make it safe” may produce a well-intentioned result, but it leaves the acceptance basis unclear and makes later disagreements more likely.
The trade-off is straightforward. A focused review takes time before release, and a mark-up may require a design owner to clarify intent. Skipping that work can appear faster, yet it shifts uncertainty to the shop floor, incoming inspection, or installation. The right balance is not exhaustive paperwork for every edge. It is enough definition to protect the edges that drive assembly, with a clear escalation path when the drawing and the use case do not agree.
Close the Loop for Repeat Aluminum Profile Orders
At closeout, save the marked feature view, the Edge-Readiness Ladder, the accepted observation, and any change made after the first assembly check. These few records are more useful than a vague note saying that deburring was satisfactory. They let the next buyer see which edge was functional, which operation was relevant, and why the decision was made. They also let an assembly supervisor distinguish a recurring design requirement from a one-time containment action, so a temporary workaround is not quietly carried into a new profile revision.
For a repeat order, review whether the mating part, profile revision, operation route, or packaging condition has changed. If none has changed, the prior record provides context; if one has changed, reopen the affected rung of the ladder. That disciplined approach lets Lecreator support a clearly stated aluminum profile requirement while keeping the responsibility for design intent where it belongs: with the team defining the assembly.
Before releasing the repeat, have the assembly owner read the critical-edge statement aloud against the latest drawing. That simple check often exposes an outdated feature label, an overlooked notch, or a changed insertion direction before it becomes a production question.