
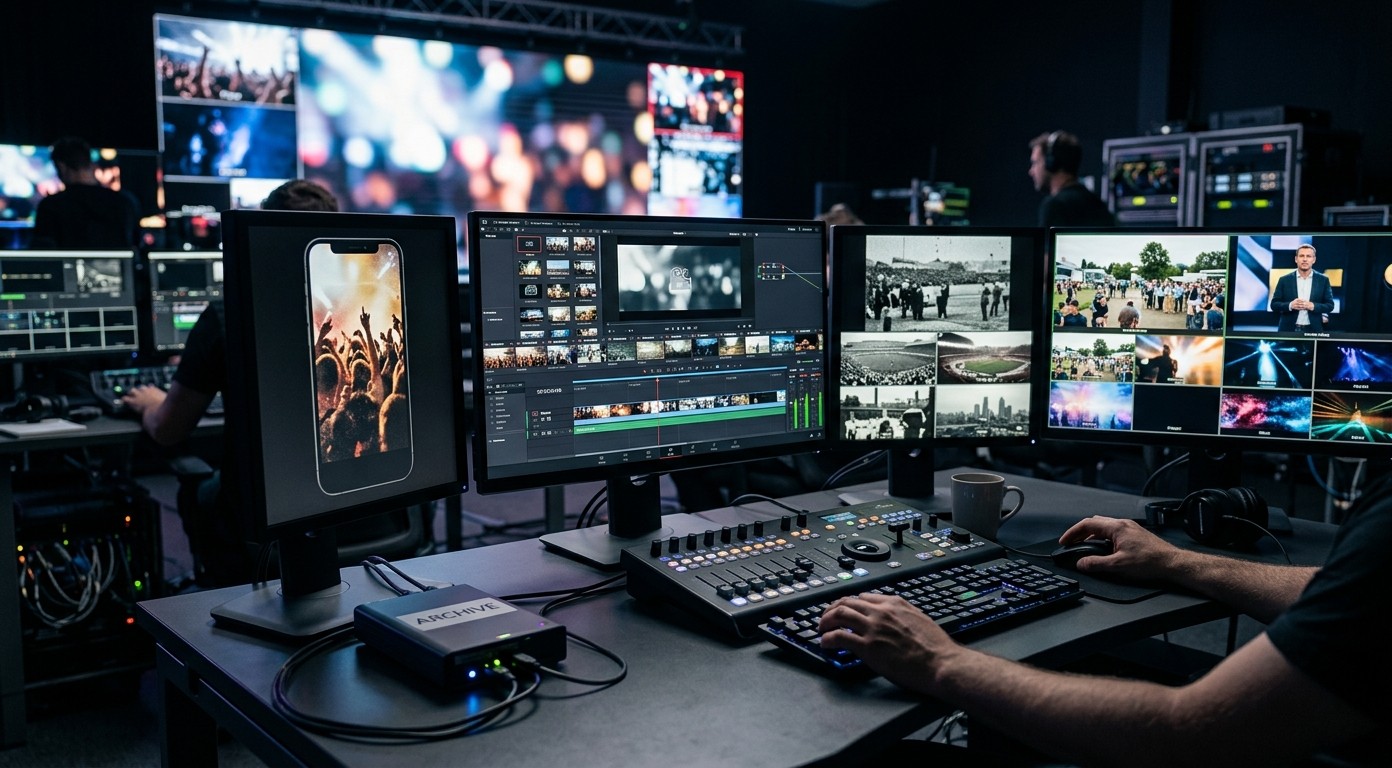
A clip can look perfectly acceptable on a phone and fall apart when it is stretched across a conference screen, event wall or 4K television. The larger display does not create the problem. It reveals softness, compression noise, clipped highlights and unstable details that were easy to miss at a smaller size.
Preparing mixed footage for modern displays is therefore less about one dramatic filter and more about a sequence. Audit the source, fix routine noise and softness, decide whether deeper upscaling is justified, map to HDR only when the destination supports it, and review the result at something close to its final size.
Audit Every Source Before Building the Timeline
A typical project combines recent phone clips, older camera footage, downloaded assets and archive material. Put them into a simple inventory before editing. Record dimensions, frame rate, orientation, dynamic range and intended use. This reveals which clips can share a workflow and which need separate treatment.
Do not enlarge everything merely because the final canvas is 4K. A small clip appearing in a picture-in-picture window may be fine at its existing resolution. A hero shot filling the screen deserves more attention. Matching treatment to screen area reduces processing and avoids unnecessary artifacts.
Watch difficult moments rather than judging only the opening frame. Fast movement, patterned clothing, foliage, faces, dark interiors and bright windows expose most quality problems. Mark those timestamps so the final review compares the same scenes.
Clean Routine Clips in the Browser
Short clips with moderate softness or compression noise can often be handled through a browser before they enter the main edit. This route is useful for teams working across laptops because the processing happens on cloud GPUs rather than depending on each local machine.
UniFab AI Video Enhancer lists a maximum twofold increase, with examples such as 720p to 1440p and 1080p to 2160p/4K. It runs through modern browsers, accepts common formats including MP4, AVI and MOV, and uses MP4 as the default export. That makes it a reasonable routine lane for phone footage, recorded presentations and older web clips that do not need specialist restoration.
Review the export before editing it into the project. Noise reduction should not remove facial texture, and sharpening should not draw bright outlines around objects. If a clip becomes unstable in motion, a less aggressive result is preferable to a sharper still frame.
Match Resolution to Viewing Distance and Screen Size
Resolution targets make sense only in context. A 4K television viewed from across a room, a close-up retail display and a giant LED wall all present pixels differently. The LED wall may have a lower effective pixel density than a desktop monitor despite its physical size. Ask for the display’s native canvas and playback specification rather than assuming the largest export is safest.
Scaling also affects composition. Vertical phone footage may need a designed background or side panels instead of aggressive cropping. Archive footage may require pillarboxing to preserve its original shape. Quality work includes protecting the frame, not merely increasing its dimensions.
Use Deeper Upscaling for the Shots That Carry the Story
Hero shots, interviews and archival material may justify a more controlled route than routine browser enhancement. A dedicated Video Upscaler can provide local processing, specialised models and higher output options. UniFab’s product page describes output up to 16K locally and up to 4K through FabCloud, with Equinox, Vellum, Kairo and Titanus among its models.
The local route uses the computer’s GPU and avoids cloud queues and credits. FabCloud removes the need for suitable RTX hardware and supports uploads up to 10GB. The choice depends on file sensitivity, hardware, archive volume and delivery needs.
Apply deeper treatment selectively. Upscaling every background shot to a very high resolution increases storage and render time without changing what the audience notices. Put the effort into the clips that occupy the screen, carry information or cannot be replaced.
Grade for Consistency Before Adding HDR
Footage from different cameras rarely matches. White balance, contrast and saturation can jump from shot to shot even after resolution work. Correct those differences before converting dynamic range. HDR mapping will not fix inconsistent colour; it may make the inconsistency more obvious on a capable display.
Create a restrained baseline. Keep skin tones plausible, protect bright areas and avoid crushing shadow texture. If the source contains clipped highlights, no conversion can recover detail that was never recorded. The goal is a coherent programme, not maximum brightness in every scene.
A standard SDR version should remain part of the delivery set unless every endpoint is known to support HDR correctly. Event playback, embedded web players and older screens may still require SDR, and an unmanaged HDR file can look washed out on the wrong device.
Add HDR as a Destination-Specific Stage
When the target screen and playback chain support it, teams can Convert SDR to HDR after enhancement and colour balancing. UniFab’s page describes AI inverse tone mapping from 8-bit Rec.709 SDR to HDR10 or Dolby Vision. It lists 4K UHD, QHD, FHD and Fast modes.
The product documentation distinguishes the delivery paths: local processing supports HDR10 and Dolby Vision, while FabCloud currently supports HDR10 and limits each file to 10GB. That difference should be settled before rendering. A request for Dolby Vision cannot simply be sent through the current cloud route and assumed to match.
HDR should expand usable tonal separation rather than make the entire picture bright. Review specular highlights, faces and dark backgrounds. If highlights become harsh or shadows look artificially lifted, revise the mapping. The final screen—not the editing preview alone—should guide approval.
Build Delivery Files From a Preserved Master
Once the enhanced and graded timeline is approved, export a high-quality master and create delivery versions from it. Do not feed a compressed social copy back into the workflow for the event screen. Each re-encode can add artifacts and complicate later revisions.
A practical delivery package may include:
one high-quality SDR master;
one HDR master when required;
a screen-specific playback file;
a smaller web or social copy;
a note recording resolution, frame rate, colour space and audio format.
Workflow from mixed source clips through enhancement upscaling HDR and delivery screens
Test the actual playback route whenever possible. A file can be correct while the media player, cable, switcher or display applies the wrong colour interpretation. A short technical rehearsal is cheaper than discovering washed-out footage when an audience is already in the room.
Final Thoughts
Large screens reward a disciplined workflow. Audit sources, use browser enhancement for routine twofold improvements, reserve deeper upscaling for high-value shots, make colour consistent, and add HDR only for a verified destination. Review at real scale and preserve a strong master for every delivery version. The result will feel more professional not because every setting is at its maximum, but because each clip has received the treatment it actually needs.