
My Windows desktop had slowly turned into a mess. I kept telling myself I would organize it later but couldn’t get enough time to do it. Screenshots from work, downloaded documents, project folders, app shortcuts, and random files all ended up on the same screen. When I needed something quickly, I had to scan through rows of icons or open File Explorer and search manually.
The clutter became especially annoying when I was working on several things at once. At that point, my desktop was no longer helping me access files quickly. It was slowing me down. That was the reason I decided to try iTop Easy Desktop. Instead of spending another weekend manually sorting every file, I wanted to see if a desktop organizer could give me a better system with less effort. After using it to arrange my files, create separate work areas, and manage everyday desktop tasks, I found that it offered more than a simple visual cleanup.
My Main Problem Was More than Just a Messy Screen
At first, I thought the biggest problem was that my desktop looked untidy. However, I realized the real issue was the time I was losing after using it for a while.
I regularly downloaded files for different tasks. Some were temporary, some were important, and others were files I needed only for a few days. Everything stayed in the same place without a clear system.
I also noticed that I was keeping too many shortcuts visible because I wanted quick access to my most-used applications. The result was a desktop packed with icons.
I needed a way to separate things without constantly dragging files into folders.
What iTop Easy Desktop Does?
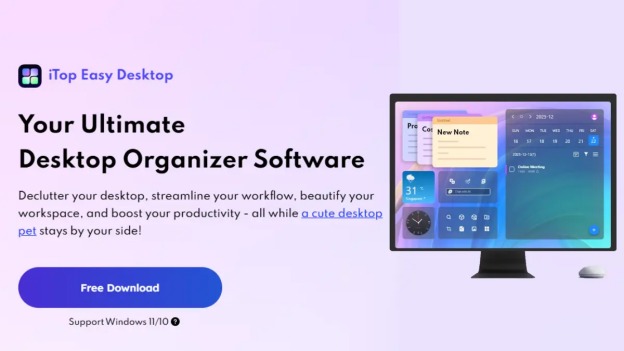
iTop Easy Desktop is a Windows desktop organizer software designed to help users arrange files, shortcuts, and folders into a cleaner workspace. It offered features for desktop organization, quick file access, task management, screenshots, customization, and more.
The main feature I started with was one-click auto-organization. It can sort desktop items into groups such as documents, images, applications, and folders. I could also create my own boxes for categories such as “Work,” “Urgent,” or “Personal.”
This was useful because I didn’t have to completely change the way I used my desktop. I simply created a structure that matched the way I already worked.
The Features That Helped Me Take Back Control
Here are the features that impressed me the most.
One-Click Auto-Organization
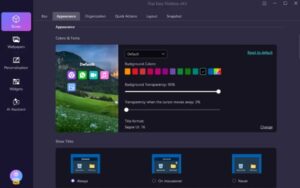
I started by letting iTop Easy Desktop sort my existing icons.
Before that, my desktop had no real structure. After the automatic organization, similar items were placed into separate groups. It was a much faster starting point than trying to sort everything manually.
The automatic sorting did not solve every organization problem by itself, but it gave me a clean base to work from.
Custom Desktop Boxes

After the initial cleanup, I created my own boxes.
I made separate areas for active projects, downloads, frequently used apps, and files I needed to review. I also created a temporary box for items that I did not yet know where to place.
This was one of the features I found most useful because I could organize the desktop around my actual routine rather than using only standard file categories.
Private Box
For documents and personal files that I did not want sitting openly on the desktop, I used the Private Box.
The feature allows important files to be stored behind password protection. I would not treat it as a replacement for a full backup system, but it was useful for keeping selected files separate from the rest of my desktop.
Double-Click Hide Everything
This quickly became useful before screen sharing.
When I needed to show someone a presentation or share my screen during a meeting, I could double-click the desktop and hide the boxes. That gave me a cleaner view without moving all my files somewhere else.
How I Organized My Messy Desktop?
Here is the workflow I followed to organized my messy desktop with iTOP Easy Desktop.
Install the Software
I downloaded and installed iTop Easy Desktop, then opened it to view the available organization tools.
Run Auto-Organization
I used the one-click organization option to group the items already scattered across my desktop. This gave me a starting point instead of forcing me to sort every icon manually.
Create Boxes for My Own Workflow
I then created custom boxes for work files, downloads, active projects, and frequently used applications.
Add Useful Tools
Once the main organization was finished, I added Folder Portal shortcuts for folders I opened often. I also tested the search feature and enabled Auto Save Layouts so I could return to my preferred desktop arrangement if needed.
Things I Didn’t Like
The initial setup still takes some time if your desktop is extremely cluttered. Automatic organization helps, but you may still want to rename boxes and move items around to match your own system.
Also, users who want very advanced customization may find some options limited. I found the software more focused on making daily organization easier than giving users complete control over every visual detail.
Final Thoughts
Before trying iTop Easy Desktop, I treated my Windows desktop like a temporary storage space. Files went there because it was convenient, but I rarely cleaned them up.
The biggest change after using the software was that I stopped seeing my desktop as one large collection of icons. The tool is not a magic solution for poor file habits. I still need to decide what should be kept and deleted. However, it made the organization process much easier and reduced the amount of manual sorting I had to do.